
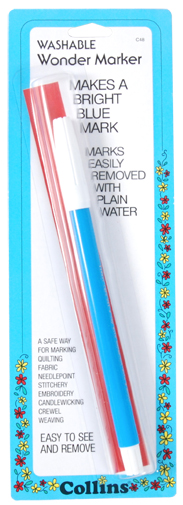
Tuesday Tips & Tricks! Today I want to tell you how I mark designs on my quilts. I've done this for a long time and have pretty much perfected my methods!! Most of the time, I use the Wonder Markers by Collins to mark quilting
designs onto my quilts. These are a bright blue water soluble marker
that is easy to see on all light fabrics and some mediums (turquoise and
greens being exceptions).
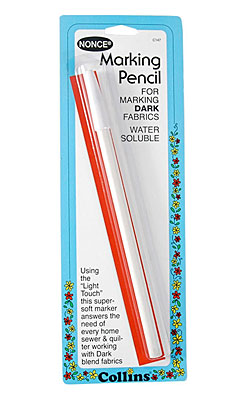
For dark fabrics, I use either a Nonce pencil
or the white pencil made by Quilters Resource. These don’t remove
as easily as the blue marker, but they do have their place as you can’t
quilt what you can’t see.
Occasionally, I have had luck with the old
fashioned sliver of soap, but you really can’t do too intricate a design
with that; it does work well to mark straight lines, such as
crosshatching, or subtle curves. Forget it if you have your heart set on feathers!
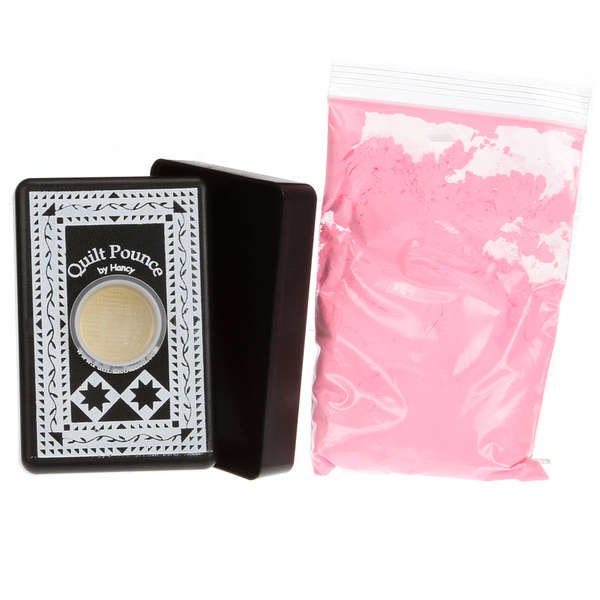
Another marking tool that works well for designs that are not too fussy is the Pounce Pad. It looks like a chalkboard eraser. It has an opening on the back (with a little plug) that you fill with a chalk powder (that now comes in PINK too!!!). To use it on dark fabrics, place place a stencil on your fabric. You can then “pounce” lightly and the chalk sifts through the pad and through the channels of your stencil to leave a distinct, easily removable design on your fabric. When I use this, I mark one block at a time and then brush the chalk away after stitching.
I am a total stencil
“junkie”! I can’t draw, so I depend on stencils for the design elements
of the quilts I stitch. I look for stencils everywhere I go — quilt
shows, new shops when I travel, ads in backs of quilting magazines. I
used to also cut my own from plastic until I found Golden Threads
Quilting Paper. It is a gold colored paper that comes in various widths
(I have been using the 12”). You can trace a design on it and then
stitch through the paper. The paper tears away easily from your quilt
top and doesn’t tear your stitches. Also, if you want multiple copies of
a design, you can stack up several sheets of the paper, draw your
design on the top sheet and “needlepunch” the whole stack with an unthreaded machine. What a timesaver!

I hope this helps you mark your quilts a little easier and gives you some new ideas!!
For more tips, visit my website.
Happy quilting!!
Paula
No comments:
Post a Comment